Remember, each heading is a link to the rating page that contains more information
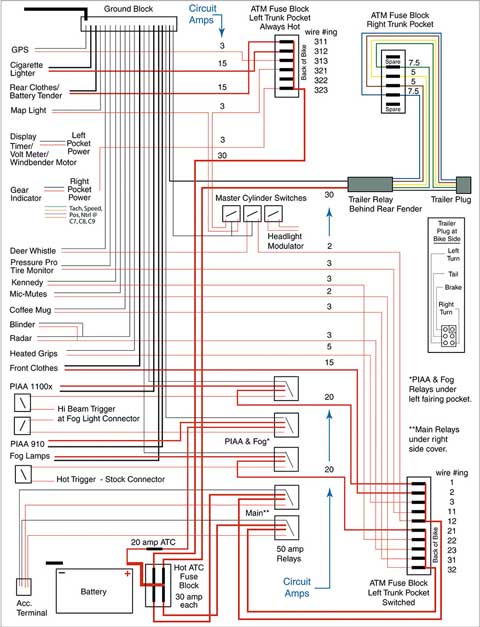
When adding electrical accessories to this magnatude it's best to have a plan.
You'll need your plan if you ever have to do any troubleshooting.
Carry the plan on the bike in a waterproof container, too.
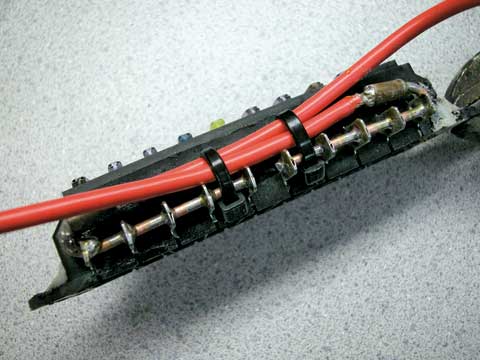
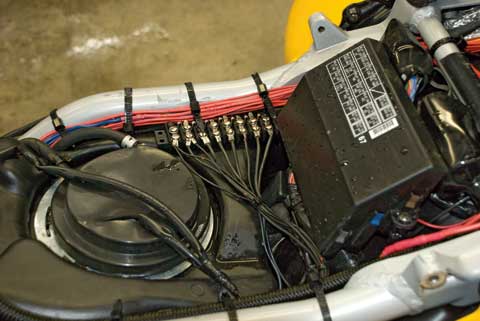
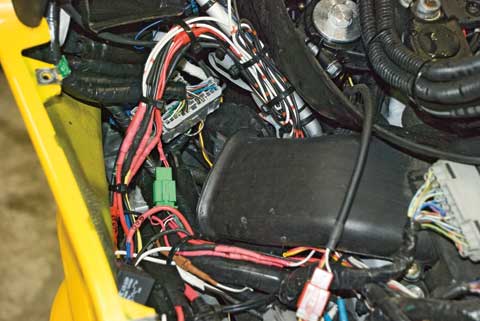
Solid copper and brass tubing was used to make a common
hot-side-buss on these ATM fuse blocks.
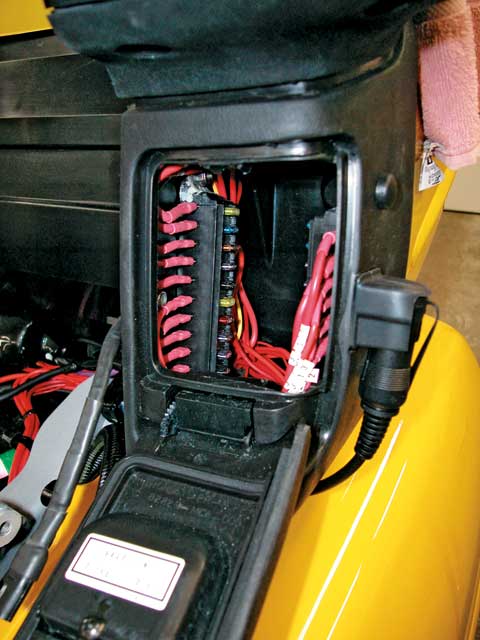
While various aftermarket fuse-blocks are available for stuffing beside the battery, behind the side-cover, they all use ATC blade fuses. I wanted to use the same ATM (mini) fuses that are used in the stock fuse panel. Until my local electronics shop found some, the only place I could get them was Waytec Wire. They work great and come with some nice waterproof covers, if you have the space or need, and are available in multiple capacities, but require fairly extensive modification to work in a motorcycle application. These ATM fuse blocks are built to have one circuit per fuse so a buss must be built for a common hot-side lead. This can be accomplished with a long drill bit, 12g rigid copper wire and a big soldering gun. I also didn't want to stuff my auxiliary fuses under a side-cover or in the bottom of the trunk where they would be hard to get to. I found a convenient spot to put them: those little trunk pockets are too small for much of anything else anyway! Plastic furniture screw-caps hide the mounting bolts and look almost factory.
I probably should have color-coded more wires, but I like the
look of all-red and numbered each wire with electrical markers.
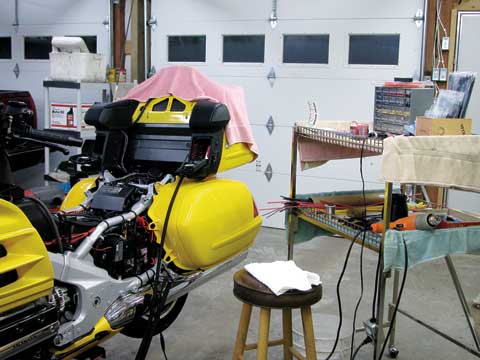
Work goes smoother when you set-up a nice workstation.
Snaking wire up through a hole drilled in the
trunk pocket is a bit difficult, but worth the effort.
Make sure none of the wires will be pinched by the seat!
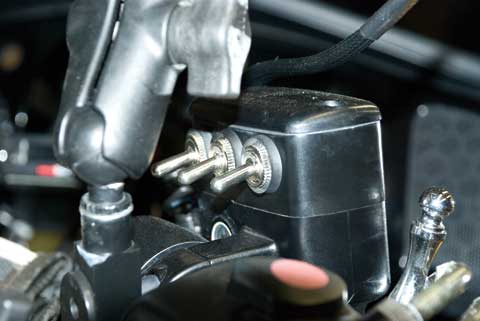
Addon reservoir switch case with new switches installed.
I needed a convenient place to put switches for the Terralight, deer alert, and headlight modulator. I really didn’t want to put them in the lower part of the top shelter, where I would have to take my eyes off the road to use, or somewhere I would have to reach far for. I found a black version of Addon’s master-cylinder-cover switches on eBay that fit the bill perfectly. The switches that come with this unit are junk and melted with the first touch of a soldering iron. I replaced the switches with a heavy-duty variety from Radio Shack and have had no problems. Placing rubber washers behind the switch nuts help keep water out.

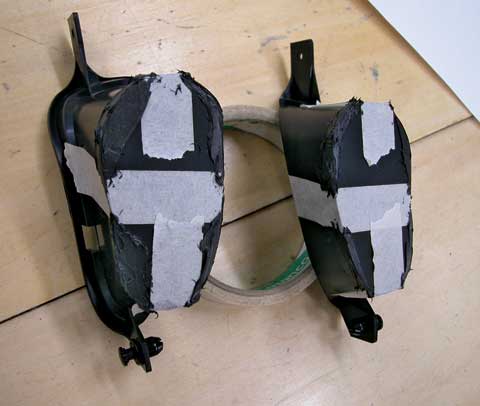
The right vent tube is still in. The left has been removed.
You can see how much extra space they provide when removed.
There is not much space under the plastic body work to put electronics and wire. Wires must be routed carefully, but more space for relays and motors can be found if the ankle-vent tubes are removed. These silly vents don’t pass much air anyway. An added bonus is: with the tubes removed and the louvers open, a smidgeon of heat can be felt coming out.
You'll want to plug the vent ducts left open by the removal
of the tubes, to keep road gorp off your electronics.
With the vent-tubes out of the way you'll have more space for
windscreen motors and relays.
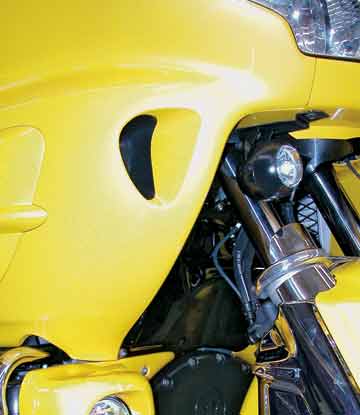
If you use black plastic to fill the ducts,
you'll never know the ducts were once open.
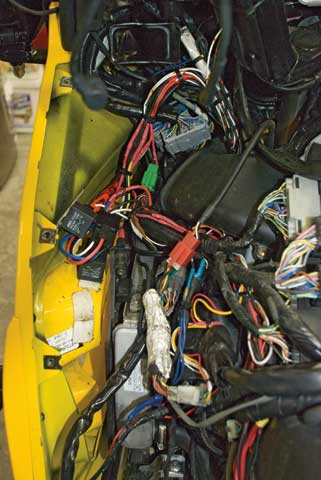
A ground block makes for tidy connections.
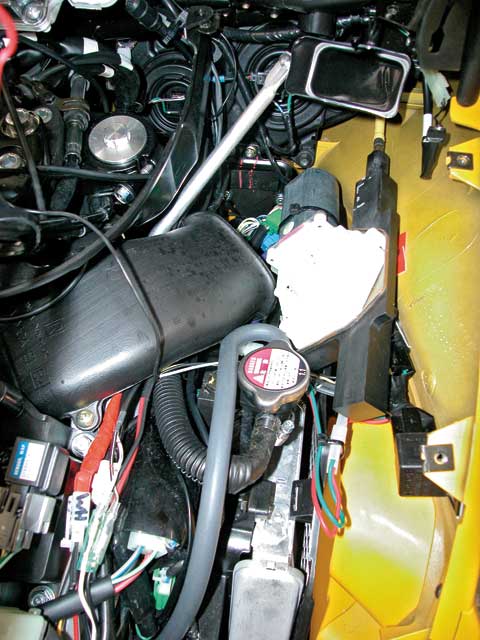
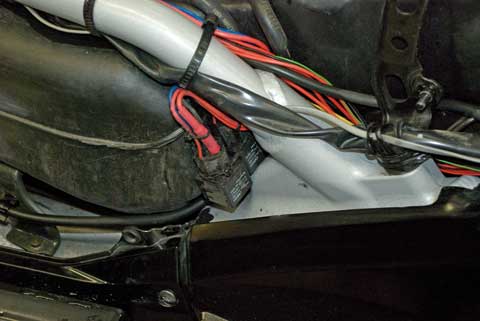
There is not much room under the GL's plastic body panels to route new wire, so you'll want to be careful. Use tie-wraps and flexible loom to keep things in place and test fit everything. Use a good ground block to keep all those black wires sorted. Bundle all the new wires to keep them from getting tangled and put extra connectors in-line so you can remove accessories and wires easily for maintenance and repairs.
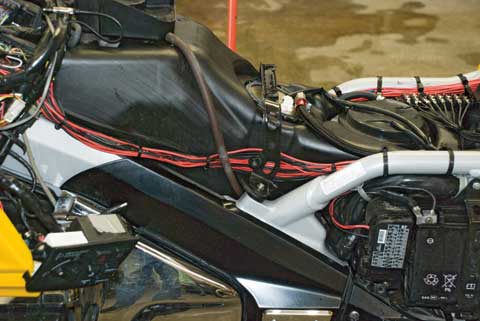
Carefully route wires to assure the body panels fit when reinstalled.
Extra connecters will allow for easy maintenance and repair.
Bundle those wires neatly.
Running exposed wires in flexible looms keeps them protected.
Seen here along the handlebars.
Put those wires in looms before you reinstall the bodywork.
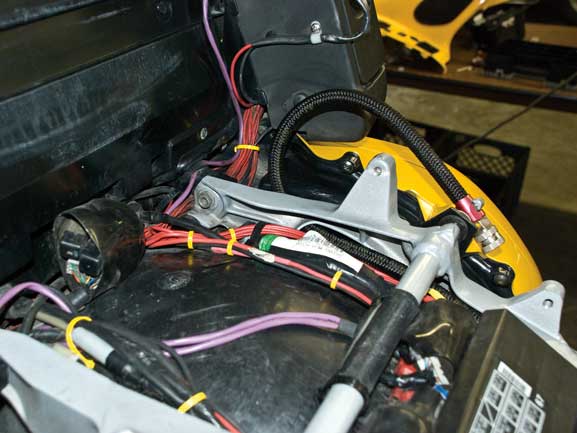
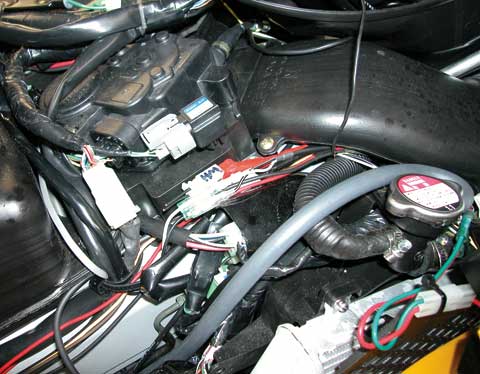
All three auxiliary driving light relays can be
accessed by removing the left fairing pocket
which is merely fixed in place with plastic rivets.
Put relays, that do fail on occasion, where you can get to them without tearing the bike apart!
Theese are the main accessory relays that feed the auxilary fuse blocks.
They fit behind the right side panel, barely.
Photography and website byDAYLE DESIGNScopyright 2009