Remember, each heading is a link to the rating page that contains more information
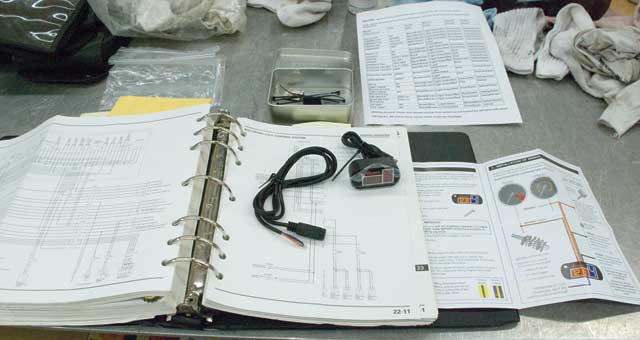
You'll need patience and a good shop manual to install the Acumen Gear Indicator.
Depending on where you mount the display, you may want to add
extra connectors in the harness to facilitate wire routing.
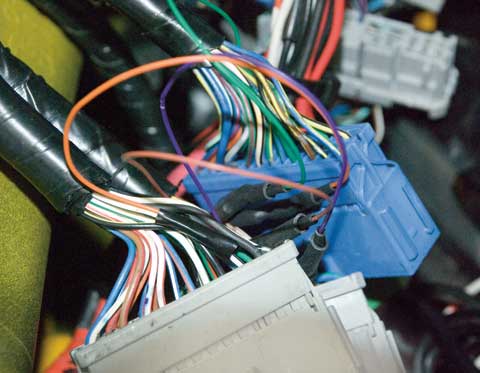
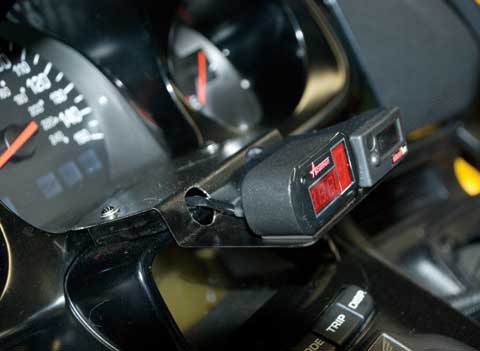
Because I knew I'd be adding a few electrical accessories and I hate voltage deficit disorders, I knew a volt meter of some kind would be very useful. I tried the single LEDlight (on is bad) from V&P and that was better than nothing, but then I found a nice gear position indicator/volt meter combo. A gear indicator was something that I really missed from my old GL1200. The first Acumen indictor I used was nice and fast because it plugged into the stock gear indicator harness. Installation required removing the airbox which is way down in the Honda black hole under a bunch of plastic. The unit worked very well and I was very happy with it, until it failed. When I tried to replace it, I learned that Air Rider had patented the harness and Acumen could no long sell that type of meter. I thought the Air Rider unit was too bulky for my taste. The replacement Acumen unit is slower to respond to gear changes and installation requires tapping into the speedometer and tachometer circuits, a switched and unswitched power lead, and a ground. There are a lot of little wires in several large connectors packed into a small space under the dash of the GL1800 that have to be accessed, making this installation difficult and not for the faint of heart. But, I really like the functionality of unit and it's auto-dimming LEDs. It's also nice to know when I need to turn off some extra lights for fear of having to attend that 12 volt program because of a voltage deficit disorder.
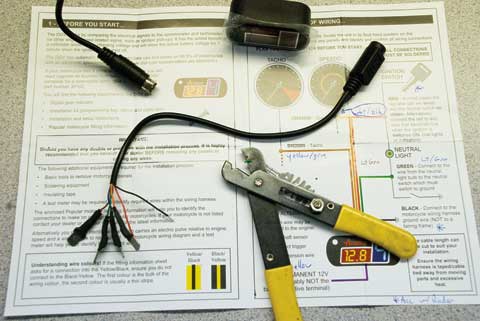
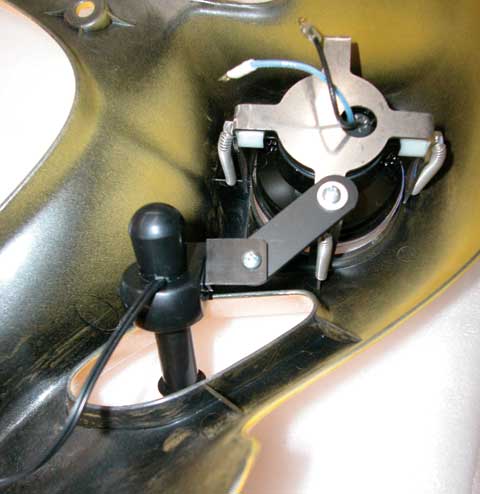
It will be helpful to find small wires color coded to the
Acumen Harness to use for tapping into the bikes systems.
Tapping into the bikes nervous system is not for the faint of heart.
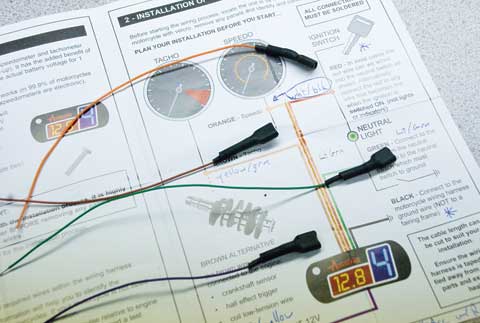
Here, the splices have been made, soldered, insulated,
and the new connectors are ready to plug in.
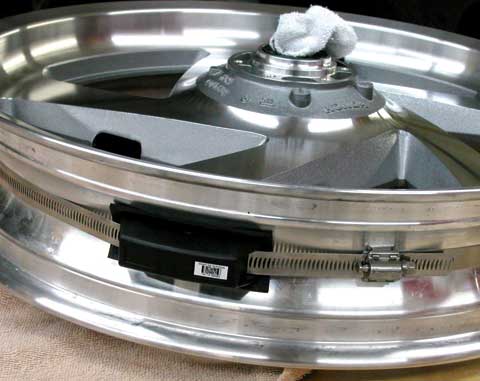
A Smartire pressure monitor mounts on each wheel.
Even if I was to check my tire pressure every morning - I do check them before each ride, but a ride might take several days - I really want early warning of tire failure in case I get a puncture while in motion. This is a very valuable addition to any bike. I installed the Smartire motorcycle tire pressure monitoring system. It was discontinued for a few years, but I hear they may be producing them again. This system is best installed when you need new tires because the pressure sensors mount to the wheels with very large hose clamps and they have to go inside the tire. The display only needs 12 volts, so wiring is easy. A switched accessory circuit is best for this one.
The Hornet Electronic Deer Alert is not proven in any way whatsoever, and it didnt work for me in The-Middle-of-Nowhere Oregon, but if it does work just once, it's worth the price of admission.

While the tires are off is a good time to polish aluminum,
paint the rough parts of the wheel and rotor supports.
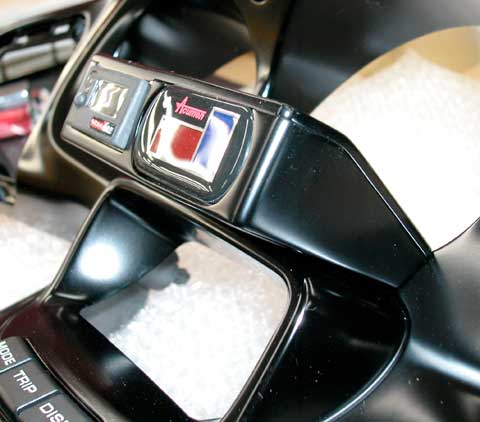
This "first error" gauge pod looked nice, but I couldn't see over it.
to mount the new meters and the deer alert required a little creativity and some trial and error. I first built a nice little pod that fit on the meter panel, but found that I couldnt see some of the stock indicators on the dash without sitting up taller than normal, so I revamped that area with a little shelf that places the farkles a low enough that I can see those indicators. The deer alert just needed a good hiding place within the specified distance from the ground.
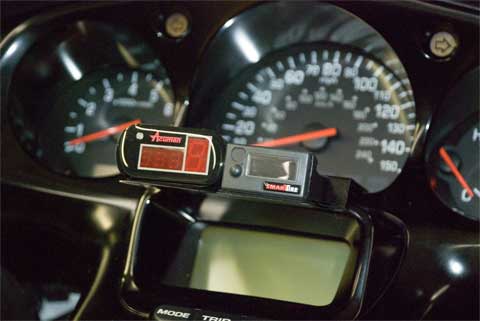
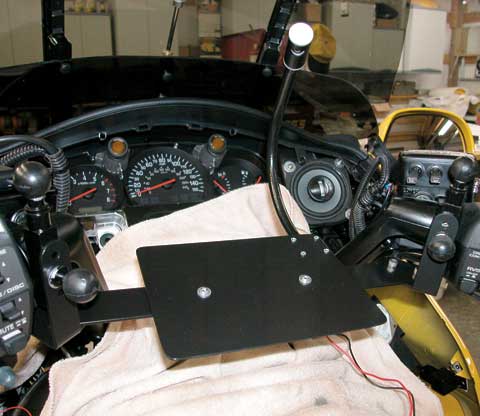
Gear Indicator/Volt Meter and Tire Pressure Monitor
now reside on a shelf in the same location, but lower.
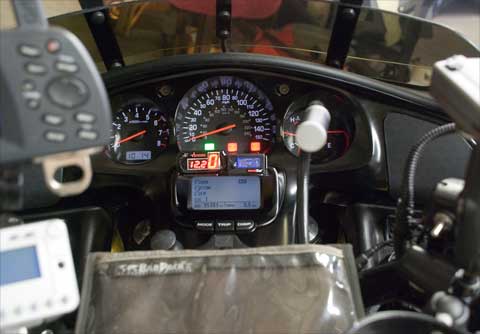
And, I can see all of the lights on the dash.
Might need them if I ever lose oil pressure!
This farkle shelf is made of bent steel and scrap plastic.
The deer alert mounted to the driving light bracket.
Most of the unit hides behind the lower cowl, but can "see" the road.
This also shows Electrical Connection's
Platinum Driving Light mounting system.
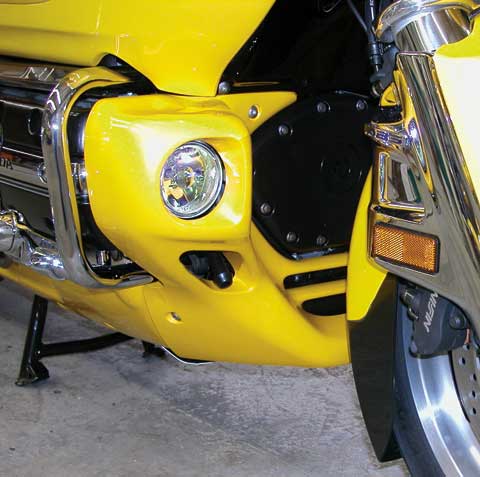
This little hole in the front lower cowl made a great hiding spot
for the Hornet Electronic Deer Alert.
This is also a good shot of the driving light
and powercoated timing cover.
Terra Light mounted with four machine screws to my bar rack.
I wanted some way to light my rally notes, paper maps or other documents in the middle of the night without having to dig out a flashlight and I wanted whatever I used to not break. The plastic base of my Terralight did break but was easily repaired and beefed up with some epoxy and sheet aluminum. The bonus item is the adjustable intensity. It is a very sturdy light for all weather reading.
My friend Jon makes a timer for the ambient temperature display on the dash. This little unit trips the circuit to switch the display to show temperature every minute or so. It's nice to know how cold it's getting without having to push any buttons.
I tried several ways to wire a garage door opener to work with the push of some odd button on the bike but could get none to work with my doors, so I picked up a mini unit and mounted it on top of the clutch master cylinder reservoir with Velcro.
Knight Lights, from J&A, are one of the few things I did just to be cute. When the lock button on the remote is pushed, a little series of LEDs placed in the windshield garnish vent flash in sequence like the old Knight Rider TV show. They are my fake security system!!! It must work as intended because several people have asked, “Is that your alarm?” “Yes, it is. Thank you!”
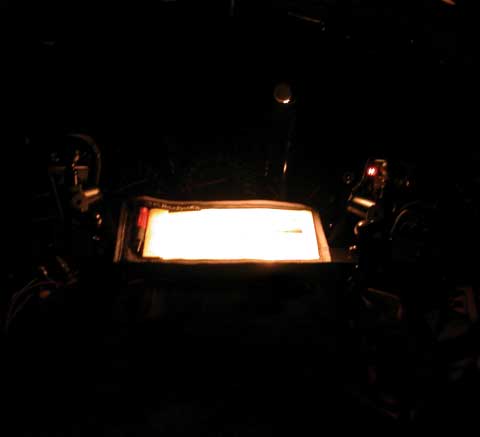
At night the Map Light works as intended.
Photography and website byDAYLE DESIGNScopyright 2009